Create Cozy Chenille Blankets at The Make Room
- Jenn Sebold
- Feb 1
- 4 min read
When the temperature drops and the nights grow longer, there's nothing quite like snuggling up with a soft, warm blanket. Chenille blankets, known for their plush texture and cozy feel, are the perfect addition to your home. At The Make Room, we offer a unique opportunity to create your own chenille blanket, allowing you to customize it to your taste and style. This blog post will guide you through the process of making your own cozy chenille blanket, from selecting materials to the final touches.

Understanding Chenille Fabric
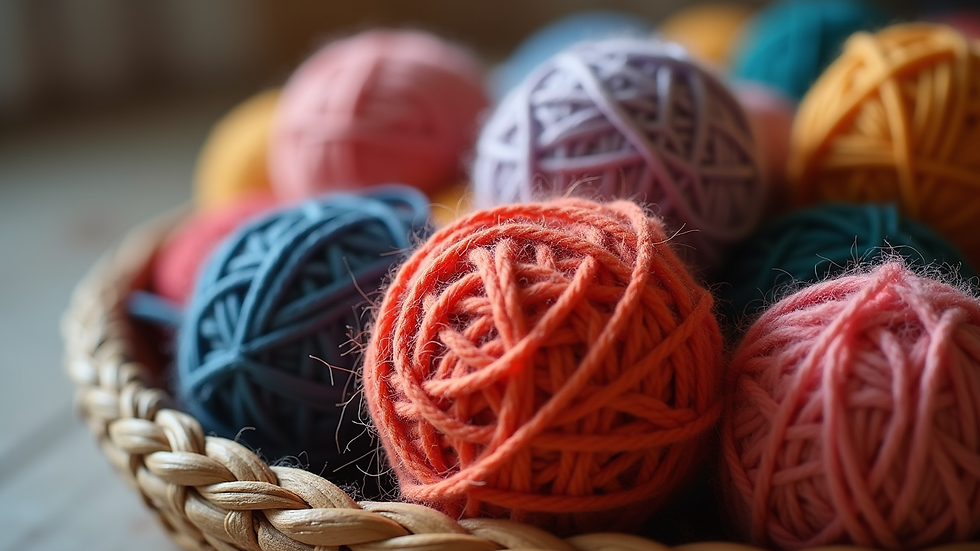
Before diving into the crafting process, it's essential to understand what makes chenille fabric special. Chenille is a type of yarn that has a velvety texture, created by twisting short strands of fiber around a core. This unique construction gives chenille its characteristic softness and warmth, making it an ideal choice for blankets.
Benefits of Chenille Blankets
Softness: Chenille blankets are incredibly soft to the touch, providing a luxurious feel.
Warmth: The fabric's unique structure traps air, making it warm without being overly heavy.
Versatility: Chenille comes in various colors and patterns, allowing you to create a blanket that fits your decor.
Durability: With proper care, chenille blankets can last for years, maintaining their softness and appearance.
Choosing Your Materials
Creating a cozy chenille blanket starts with selecting the right materials. At The Make Room, we offer a variety of high-quality chenille yarns in different colors and textures. Here are some tips for choosing your materials:
Yarn Selection
Color: Choose a color that complements your home decor. Consider whether you want a bold statement piece or a neutral blanket that blends in.
Texture: Chenille yarns can vary in texture. Some are smoother, while others have a more pronounced pile. Test a few options to see which you prefer.
Weight: The weight of the yarn will affect the blanket's warmth and drape. Heavier yarns provide more warmth, while lighter options are great for layering.
Additional Supplies
In addition to yarn, you'll need a few other supplies to complete your blanket:
Knitting or Crocheting Needles: Choose the appropriate size based on your yarn weight.
Scissors: For cutting yarn and trimming ends.
Measuring Tape: To ensure your blanket is the desired size.
Tapestry Needle: For weaving in ends and finishing touches.
Crafting Your Chenille Blanket
Now that you have your materials, it's time to start crafting your cozy chenille blanket. Follow these steps to create a beautiful and functional piece.
Step 1: Measure and Cut Your Yarn
Decide on the size of your blanket. A standard throw blanket is usually around 50 inches by 60 inches. Measure and cut your yarn accordingly, allowing for extra length to account for knots and fringes.
Step 2: Choose Your Stitch
Depending on your skill level and preference, you can choose between knitting or crocheting your blanket. Here are two popular stitches:
Garter Stitch (Knitting): This simple stitch creates a textured fabric that is easy to learn. Alternate between knitting every row to achieve a cozy feel.
Double Crochet (Crocheting): This stitch creates a looser fabric, perfect for a lightweight blanket. It’s also quick to work up, making it ideal for beginners.
Step 3: Start Crafting
Begin your blanket by casting on or chaining the appropriate number of stitches. Work in your chosen stitch until you reach the desired length. Remember to check your tension to ensure an even finish.
Step 4: Finishing Touches
Once you’ve reached the desired length, it’s time to finish your blanket. Bind off your stitches or slip stitch to secure your last row. Use a tapestry needle to weave in any loose ends, ensuring a clean finish.
Personalizing Your Blanket
One of the best parts of creating your own chenille blanket is the ability to personalize it. Here are some ideas to make your blanket truly unique:
Adding Patterns
Consider incorporating patterns into your blanket. You can use different colors of yarn to create stripes, chevrons, or even simple motifs. This adds visual interest and showcases your creativity.
Embellishments
Adding embellishments can elevate your blanket. Consider sewing on patches, adding fringe, or even embroidering a special message or design.
Care Instructions
To keep your chenille blanket looking its best, follow these care instructions:
Washing: Hand wash or use a gentle cycle in cold water. Avoid bleach to maintain color.
Drying: Lay flat to dry or tumble dry on low heat. Avoid hanging, as this can stretch the fabric.
Storage: Store your blanket in a cool, dry place to prevent damage.
Creating a Cozy Atmosphere
Once your chenille blanket is complete, it’s time to incorporate it into your home. Here are some tips for creating a cozy atmosphere:
Layering Textures
Combine your new blanket with other textures, such as soft pillows, woven baskets, and plush rugs. This creates a warm and inviting space.
Lighting
Soft lighting can enhance the cozy feel of your space. Consider using warm-toned lamps or string lights to create a relaxing ambiance.
Seasonal Decor
Change your decor with the seasons. In the fall, add pumpkins and warm colors; in winter, incorporate evergreen branches and twinkling lights.
Conclusion
Creating your own cozy chenille blanket at The Make Room is a rewarding experience that allows you to express your creativity while adding warmth to your home. With the right materials and a bit of time, you can craft a beautiful blanket that will keep you snug for years to come. So gather your supplies, choose your colors, and start crafting your perfect chenille blanket today!
Remember, the joy of making something with your own hands is unmatched, and your cozy chenille blanket will be a cherished addition to your home. Happy crafting!

Comments